The class is for beginners. Most have barely touched a hand-held drill. But that's fine by me. A really nice group who remind me of myself when I was just starting out. At least I get 3 hours of extra shop time during the week. But I've already learned some really neat ways to work quicker on the table saw, so it's paying off. I will be posting the project I selected for the class here soon.
So work on the Schoolbox has been a little slow since the class started. This post deals with the glue-up and assembly of the sides of the box. Overall the assembly went well. The joints are nice and tight, no major gaps that need special attention on the outside of the box.
What did surprise me were gaps on the inside of the box that appeared during final assembly. I'm not exactly certain why these appeared, but I have my theories. I might have cut the joints too snug. During dry assembly, I did need to drive the joints home a bit. When I applied the glue, the joint must have swelled moe than I would have thought it would.
No gaps are noticeable on the outside, but a slight hint of gaps on the inside. That's after rapping as hard as I thuhgt I could get away with without marrring this pine. I'm wondering how to hide this, so feel free to suggest if you know of a way. Some possible solutions might be to make a thin molding, perhaps if I shellac the inside of the box that might help. We'll see
So here are some shots of the dovetail assembly.
 |
| Just before glue-up |
 |
| Here I am being super worried about getting the first corner square |
 |
| A different angle of the first corner after glue-up |
 |
| Two sides down. Did you notice that I planned it so that the grain wraps around the box? |
 |
| Assembling the last two corners. |
 |
| A little closer before trimming. Not too bad |
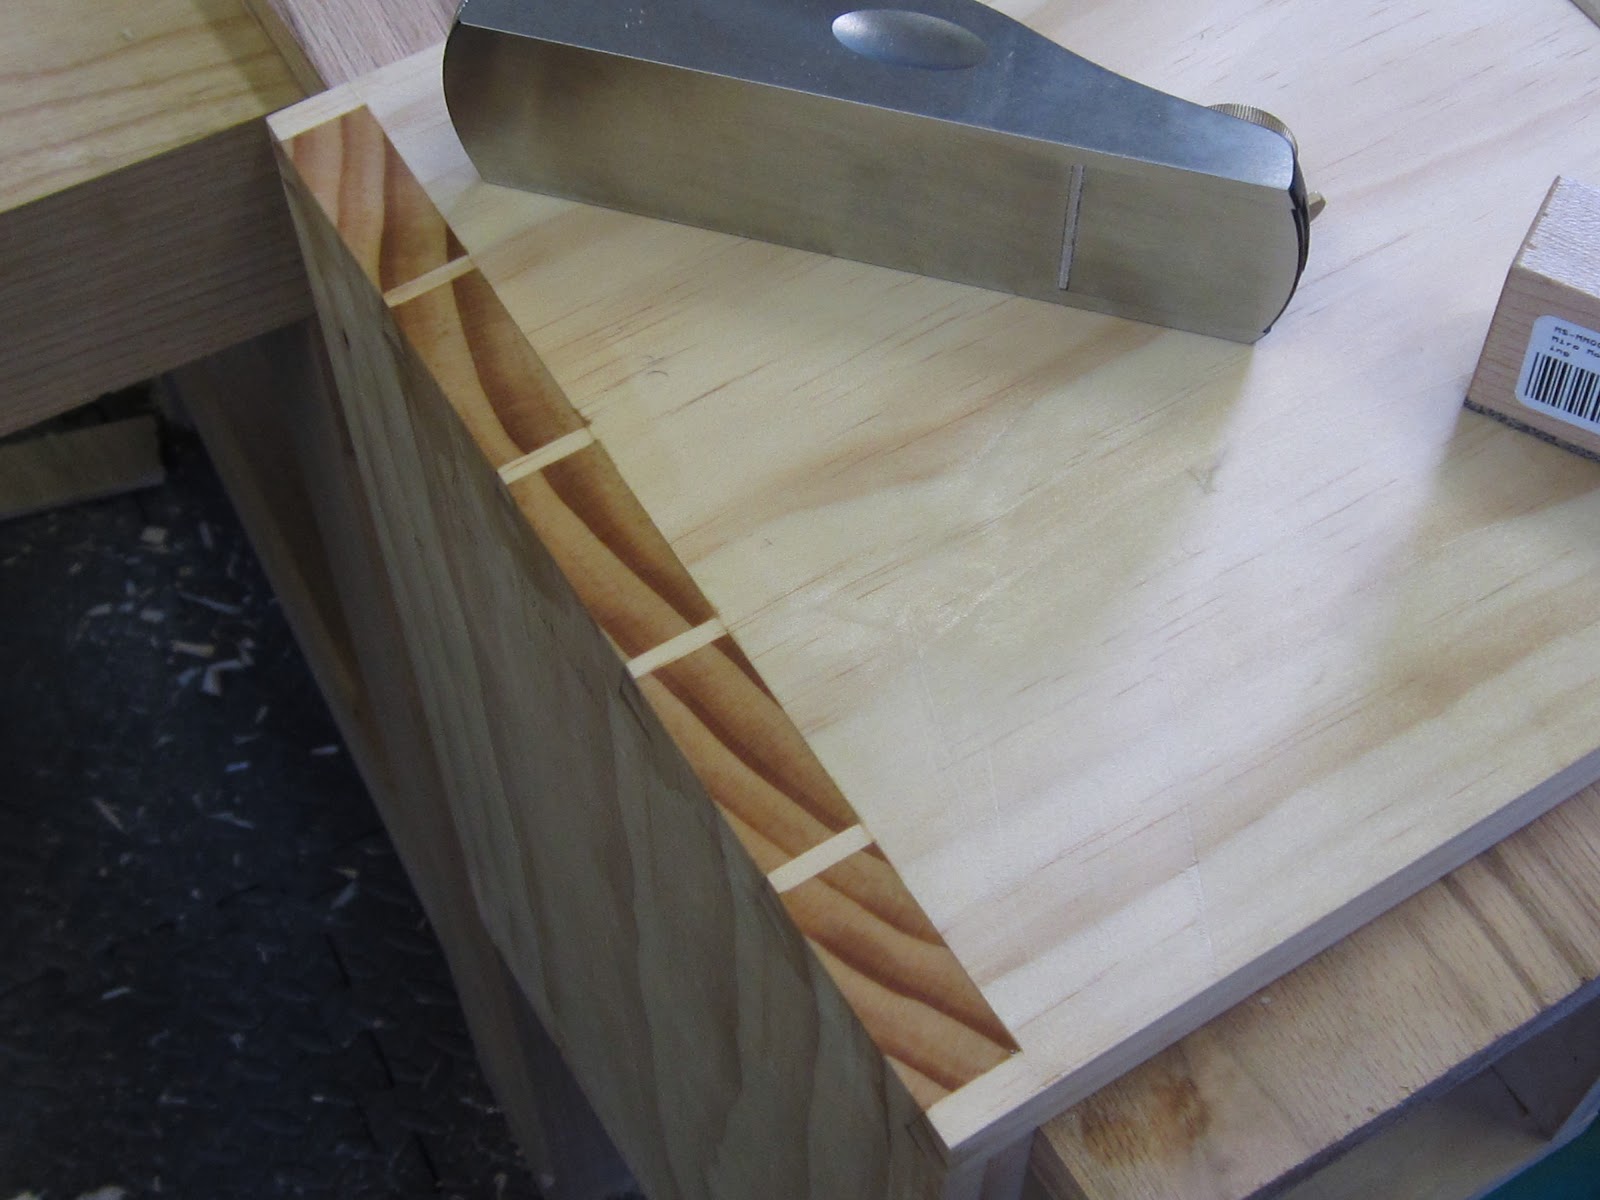 |
| After cleaning up with a block plane. Now we're talking! |
 |
| I like the way the rings make the tails look. |
No comments:
Post a Comment